Step 1
Preparation
Before operation, ensure the vehicle is parked on an even/level surface with the handbrake fully engaged in the locked position, and wheel chocks placed securely to the other road wheels.
Using the wheel spanner, loosen all nuts slightly before jacking the car up. Loosen and tighten but not to full force.
Step 2
Jack up Vehicle
Proceed to jack up vehicle at the designated jack point, ensuring the wheel rises well clear of the ground.
Should the surface under this wheel be uneven or sand, place the rubber mat (supplied) directly under the wheel.
Step 3
Placement of Multimate
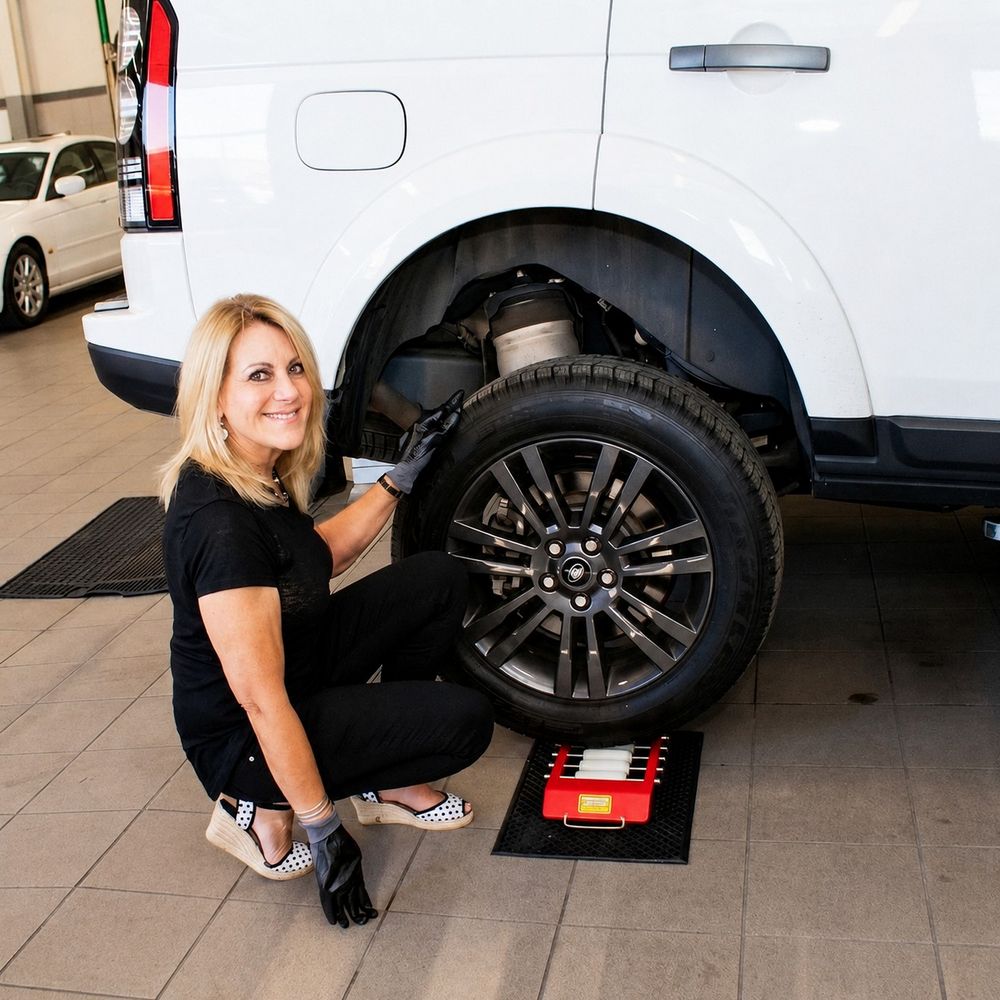
Proceed to place your Multimate Wheel Changer sideways under the wheel, and on top of the rubber mat, ensuring the chevron headboard rests up against the middle of the lower back end of the tyre surface.
Step 4
Wheel Removal
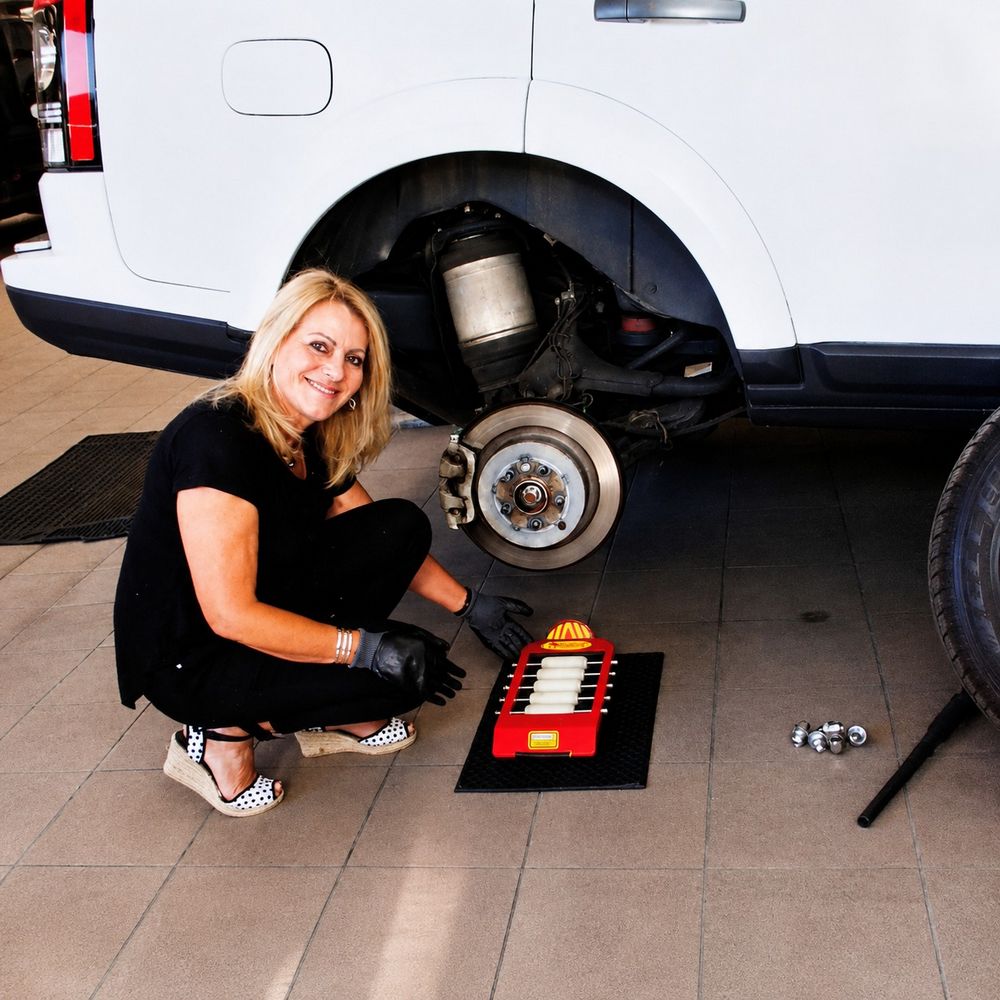
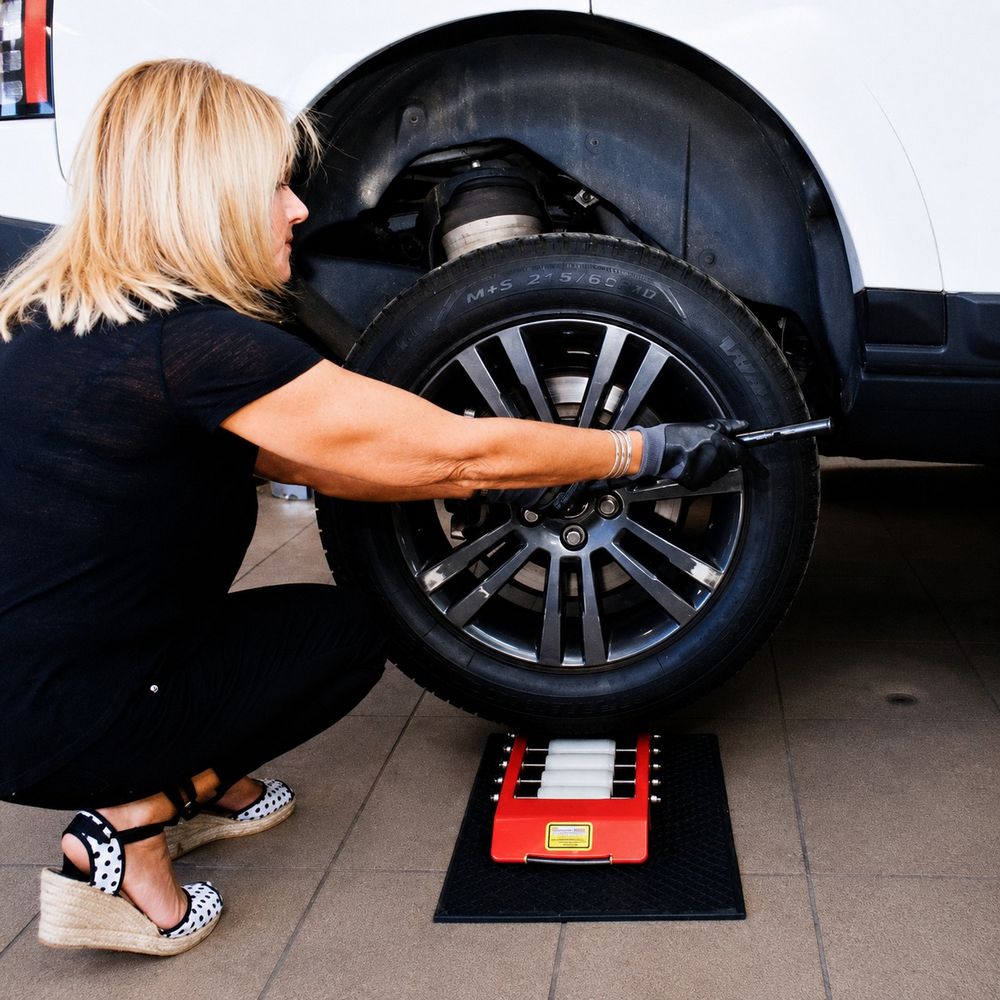
Slowly lower the jack until the wheel just rests on the middle of the Multimate rollers. Proceed to remove all wheel nuts, and then roll the wheel off the Multimate.
Step 5
Keep Multimate Stable
Ensure the Multimate platform and jack are not moved or tampered with, as this is now in a pre-set position for the replacement wheel to be mounted.
Step 6
Wheel Replacement
Wheel replacement will now be the reverse procedure, as all positions remain the same, facilitating the location of rim holes to studs. The wheel can now easily be rotated as the rollers are free to slide sideways against springs.
Once all wheel nuts have been secured and tightened, the Multimate may be removed, the vehicle brought down, and the nuts finally tightened.

Done
Ready to Go!
Pack the Multimate away, secure your tools, and you’re on your way!